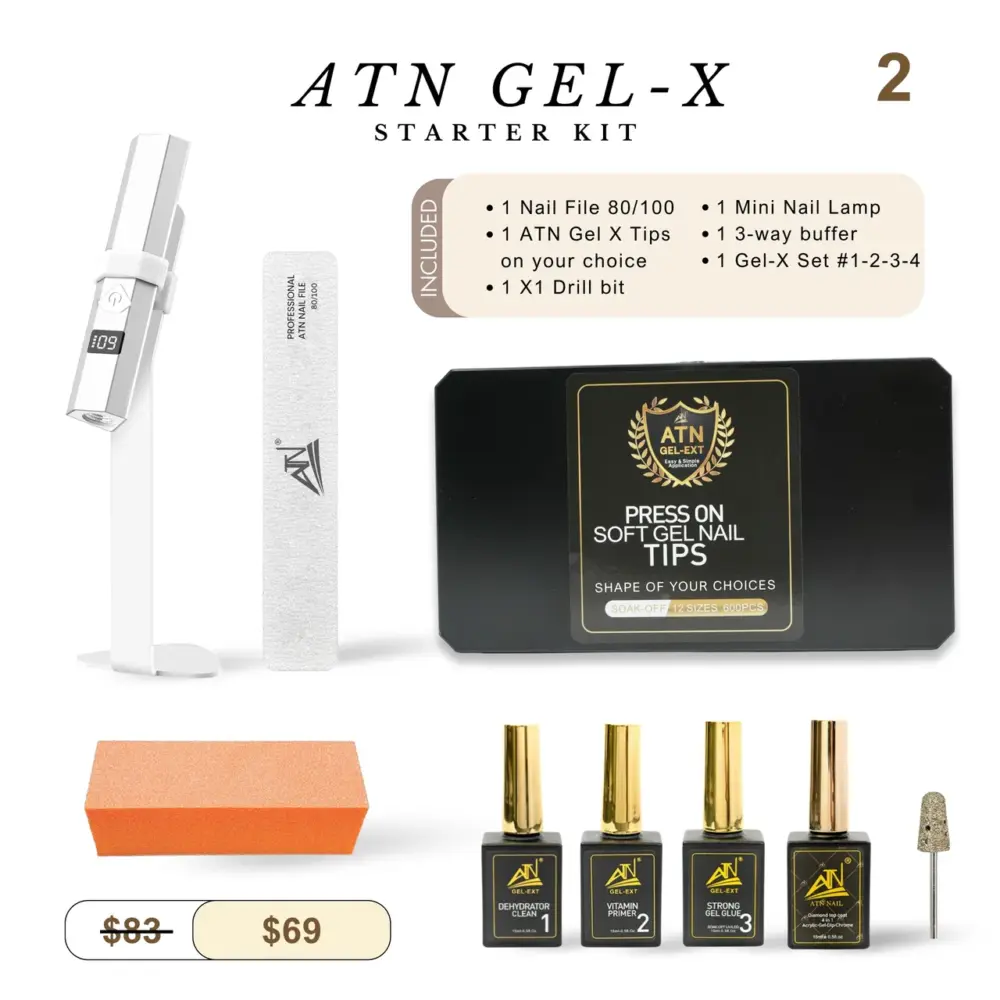
Gel-X kits are comprehensive sets that typically include pre-shaped nail tips, an adhesive, a curing lamp, a nail file, and a buffer. These kits provide all essentials to begin applying extensions. This comprehensive set ensures users can immediately start the application process at home.
To do Gel-X at home, you need a Gel-X kit, an e-file for prep, and isopropyl alcohol for cleansing. These items are crucial for proper nail preparation and application.
The Aprés Gel-X system is widely considered the best at-home Gel-X nail kit due to its durability and ease of use. This system offers a reliable and high-quality solution for DIY nail extensions.
Gel-X is less damaging to natural nails than traditional acrylics. Gel-X involves minimal filing and no harsh chemicals during removal, according to SNS Chairs. This makes it a preferred option for maintaining nail health.
Explore Barbertall’s guide to discover what’s included in a Gel-X kit and how to get started with it, along with detailed insights on what’s needed for at-home application and the best kit options.
What is included in a Gel-X kit and how do you get started with it?
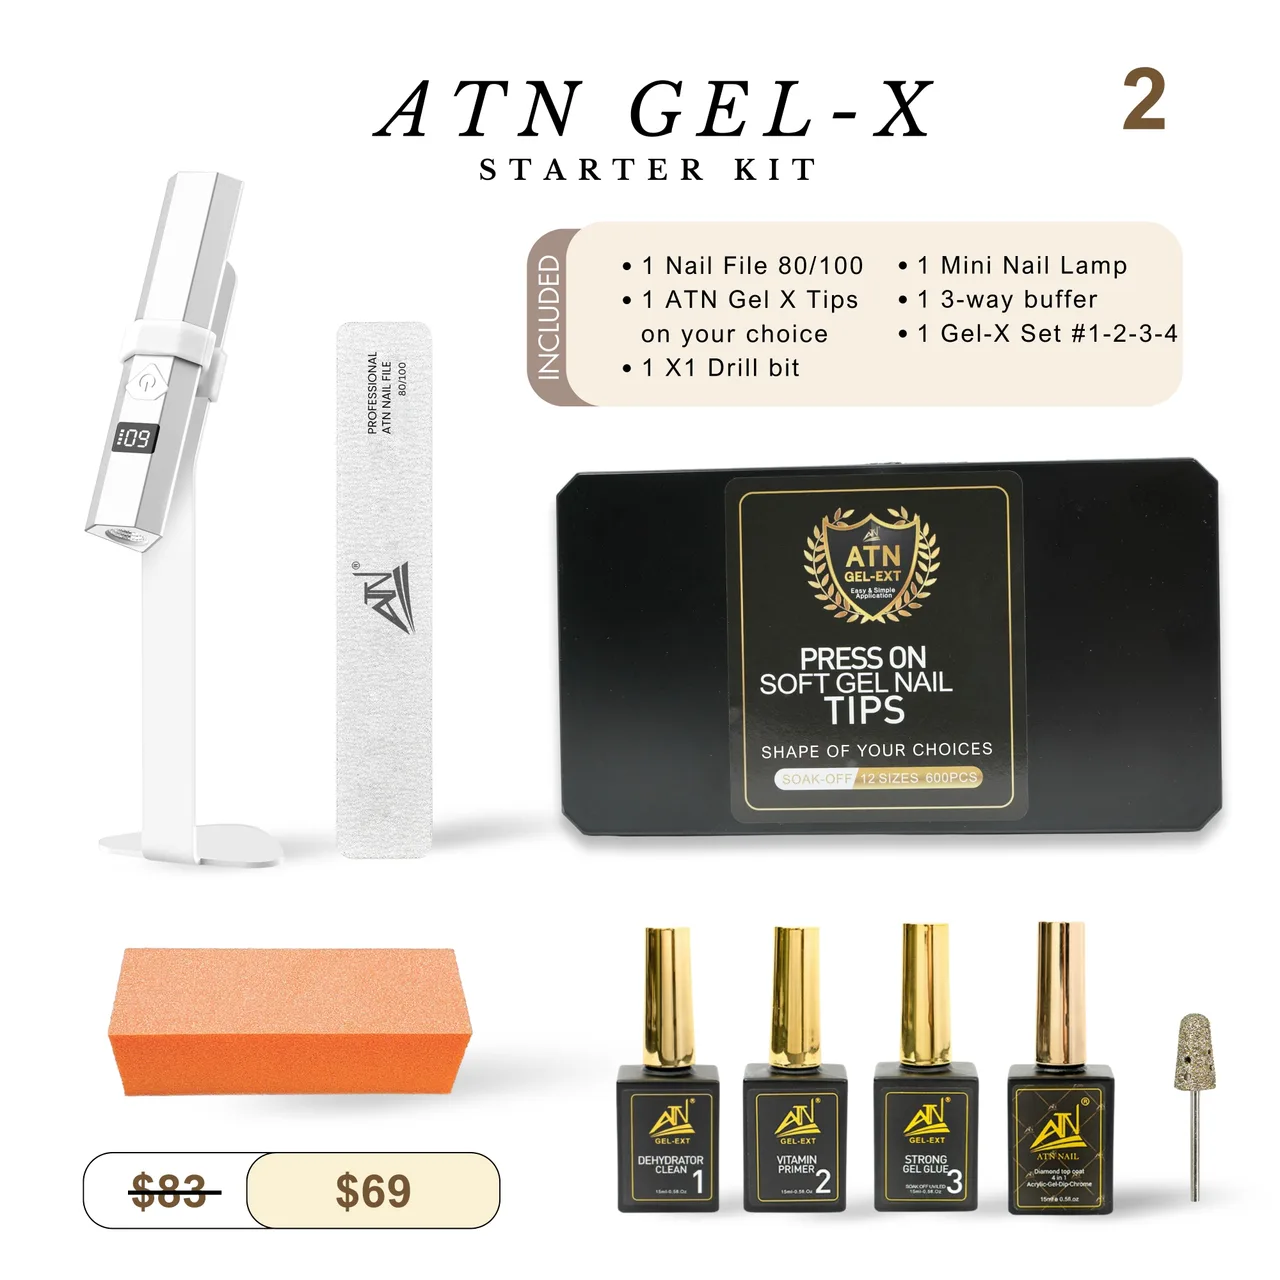
A standard Gel-X kit includes pre-shaped nail tips, an adhesive, a curing lamp, a nail file, and a buffer, enabling beginners to start nail extensions with a simple five-step process. To begin using a Gel-X kit, users prepare their natural nails by gently filing and buffing the surface. Following this, apply a thin layer of the provided adhesive to the natural nail and the inside of the Gel-X tip. Attach the tip, ensuring proper alignment and a bubble-free seal. Cure each nail under the LED lamp according to the kit’s instructions, typically Cure the entire hand in an LED lamp for 30 seconds or a UV lamp for 60 seconds, according to Aprés Nail. Finally, shape and refine the extended nails using the file and buffer for a smooth finish.
What is needed to do Gel-X at home?
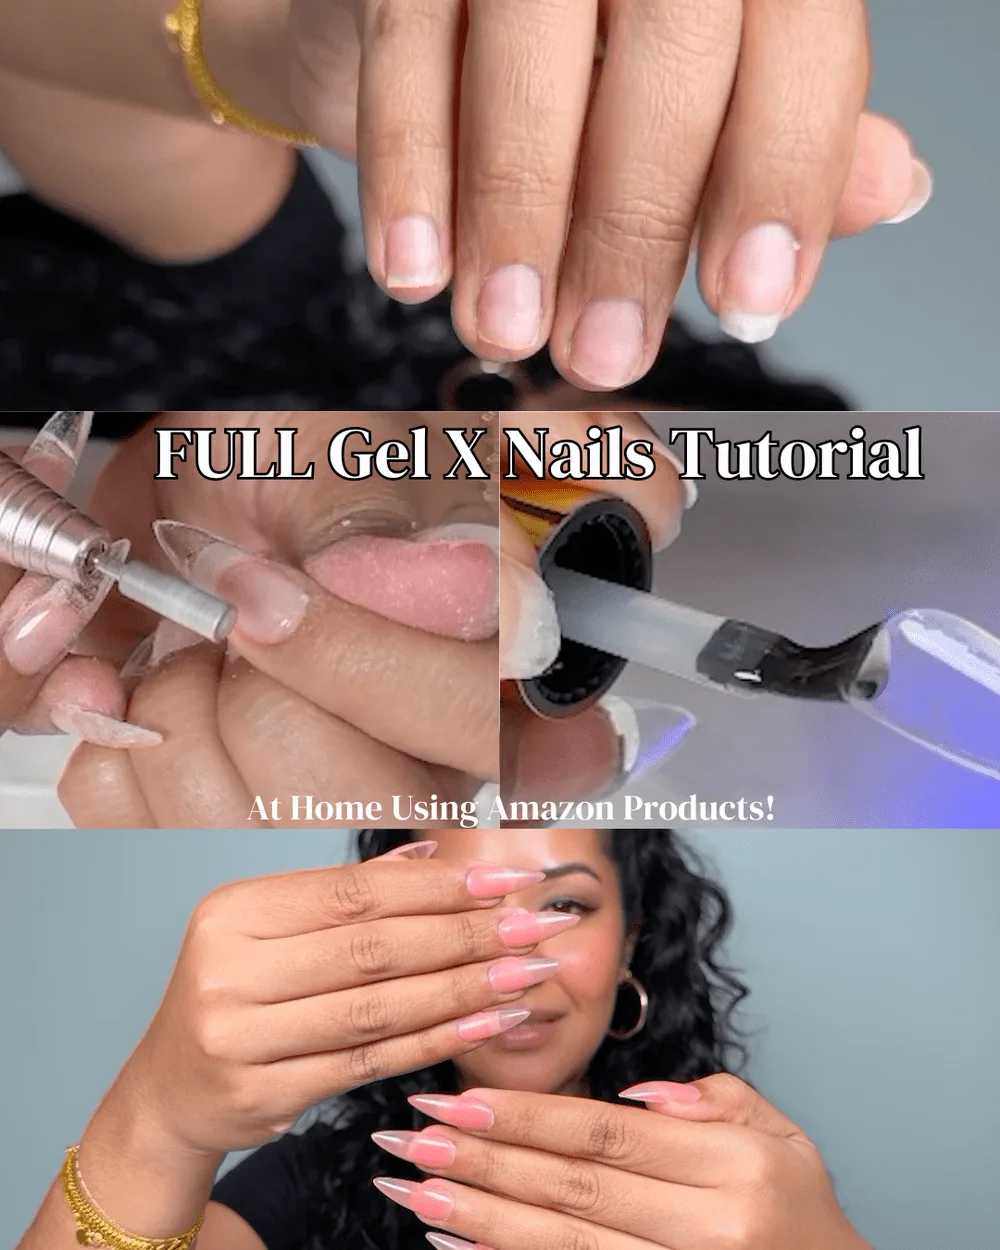
To do Gel-X at home, a Gel-X kit, an e-file for prep, and isopropyl alcohol for cleansing are needed to ensure proper nail preparation and application. Successful at-home Gel-X application requires specific tools beyond what is typically found in a basic kit. Essential items facilitate thorough nail preparation, proper tip adhesion, and a professional finish.
What is the best at-home Gel-X nail kit?
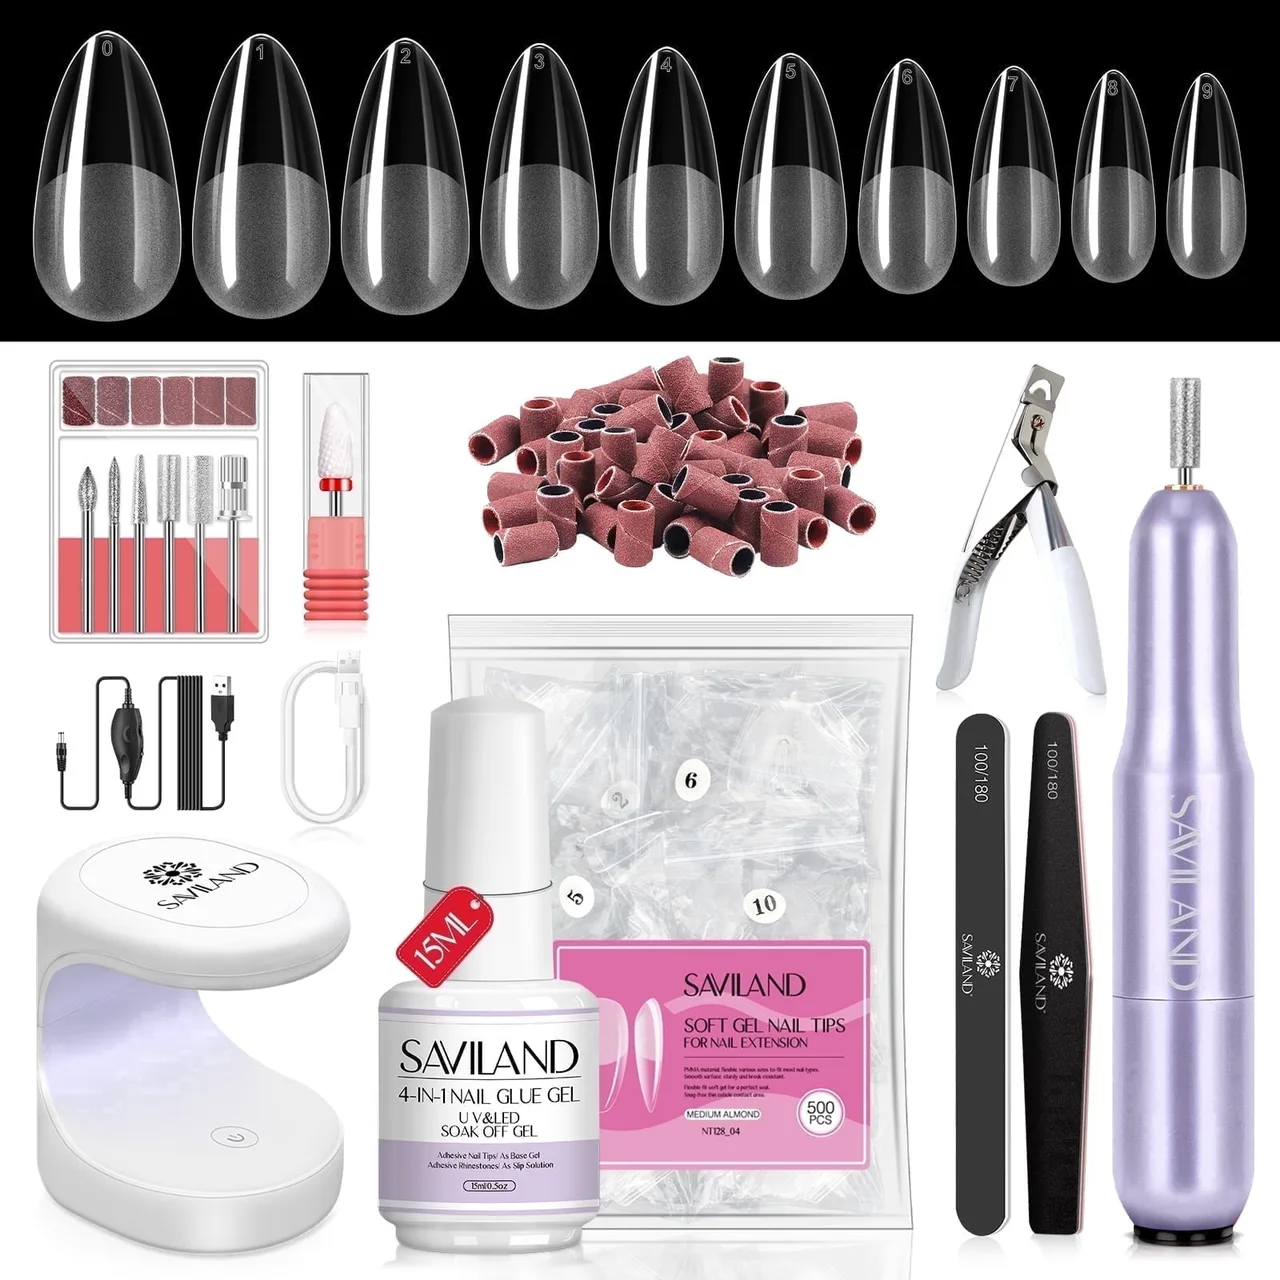
The Aprés Gel-X system is widely considered the best at-home Gel-X nail kit due to its durability and ease of use, making it ideal for both beginners and experienced users. This system offers a reliable and high-quality solution for DIY nail extensions. Several factors contribute to the effectiveness of an at-home Gel-X kit, including the quality of the tips, the strength of the adhesive, and the efficiency of the curing lamp. For those new to Gel-X, kits designed for beginners often include more detailed instructions and a simplified application process. More advanced users might prioritize kits that offer a wider range of tip shapes and sizes, along with professional-grade tools for customized results.
Is Gel-X better for your nails than gel?
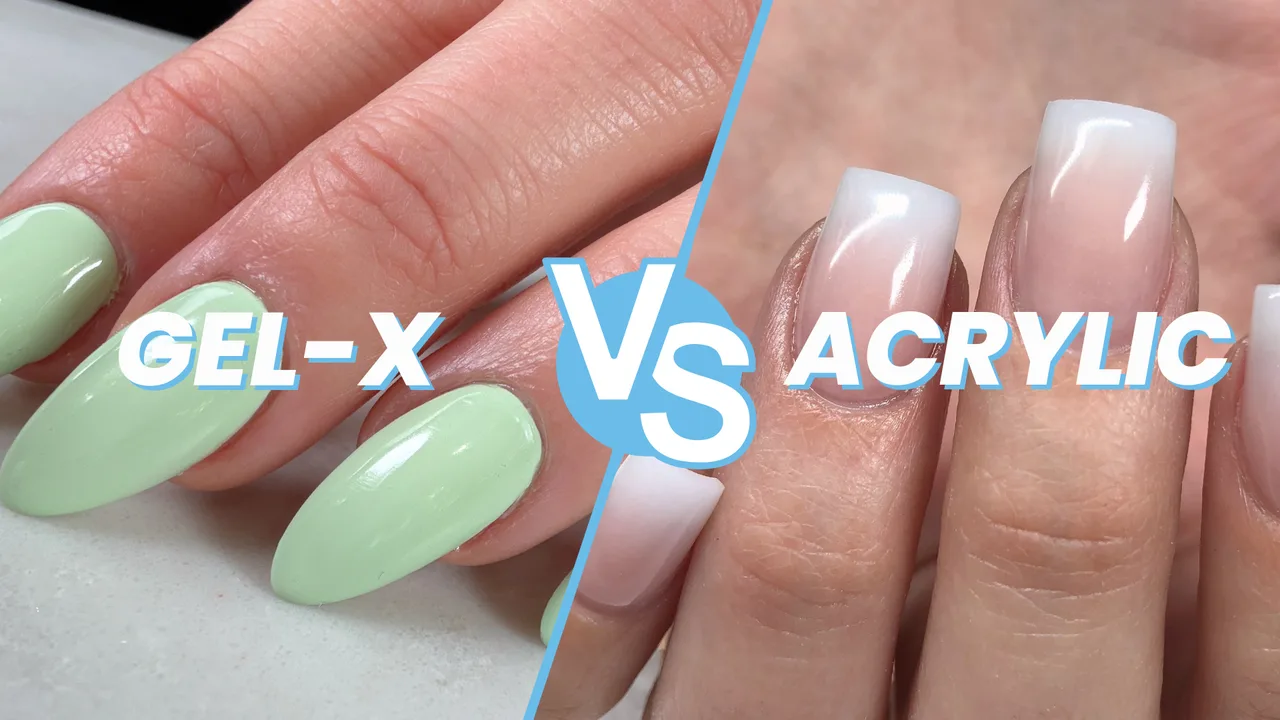
Gel-X is less damaging to natural nails than traditional gel applications, primarily due to its non-acidic primer and soak-off removal process. Gel-X and traditional gel applications differ significantly in their impact on nail health. Traditional gel often requires extensive buffing and harsh chemicals for removal, which weakens the natural nail plate over time. In contrast, Gel-X uses a gentle adhesive system and allows for easy, damage-free removal by soaking, minimizing stress on the natural nail. This makes Gel-X a preferred option for individuals seeking to maintain nail integrity while enjoying the benefits of extended nail enhancements.
Are there advanced techniques or troubleshooting tips for Gel-X application?
Mastering Gel-X application involves advanced techniques like proper sizing and apex placement, alongside troubleshooting common issues such as lifting or inadequate curing. These practices ensure a durable and aesthetically pleasing result. Achieving a professional finish with Gel-X extensions often requires moving beyond basic application, focusing on precision and problem-solving to address challenges that may arise during the process.
How do you avoid common Gel-X application mistakes?
Proper nail preparation and precise application techniques are crucial to avoid common Gel-X application mistakes like lifting or bubbling. Mastering Gel-X application involves addressing challenges that can compromise durability and appearance. Focusing on meticulous prep and controlled product placement minimizes issues for a flawless finish.
What are some creative design ideas achievable with Gel-X kits?
Gel-X kits facilitate various creative nail art designs and effects, including ombre, glitter encapsulation, and intricate hand-painted details. These versatile kits allow users to explore diverse aesthetic options beyond simple solid colors. Achieving unique looks involves combining different polishes, applying embellishments, and utilizing precision tools for detailed artwork. Experimentation with layering and color blending opens up possibilities for personalized and trending nail designs.
Conclusion
Gel-X kits provide all the essentials—pre-shaped tips, adhesive, a curing lamp, file, and buffer—to easily get started with nail extensions at home. With additional items like an e-file and isopropyl alcohol, you can achieve professional results, making Gel-X a less damaging alternative to traditional acrylics. The Aprés Gel-X system stands out as a top choice for its durability and user-friendliness, ensuring a successful and healthy DIY nail experience.