Acrylic nail extensions are a durable and versatile method for enhancing nail length and strength, created from a liquid monomer and powdered polymer mixture. They form a hard protective layer over natural nails.
Achieve salon-quality acrylic nails at home by understanding the step-by-step application process and essential aftercare practices. Proper preparation and technique are crucial for a flawless and long-lasting finish.
Acrylic and gel nail extensions generally differ in their chemical composition and curing methods. Acrylics air-dry to cure, while gels typically require UV or LED light exposure to harden.
Comprehensive resources on various nail enhancement techniques, including detailed instructions for application and aftercare, are essential for success. Now, let’s delve into what exactly acrylic nail extensions are.
What are Acrylic Nail Extensions?
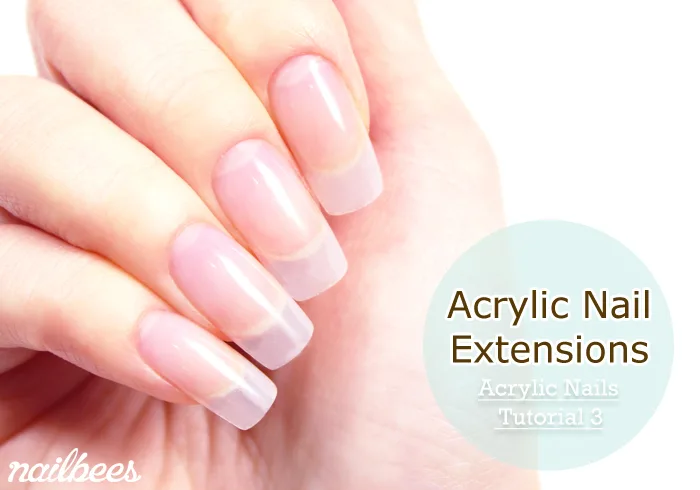
Acrylic nail extensions are artificial enhancements that create a durable protective layer for your nails. They combine a liquid monomer with a powdered polymer. This mixture undergoes a chemical reaction, hardening into a strong, resilient overlay without requiring UV/LED light. The basic composition of acrylic nails ensures their rigidity and longevity. This process creates a custom-fitted extension that adds length and strength, allowing for various shapes and designs.
How are Acrylic Nail Extensions Applied?
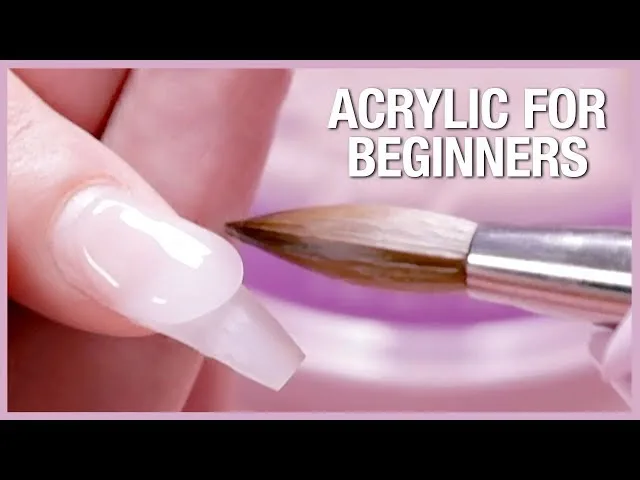
Acrylic nail extensions are applied through a multi-step process including natural nail preparation, mixing and applying the acrylic bead, then shaping and filing. This detailed guide outlines the systematic procedure for creating durable and aesthetically pleasing acrylic nails. From preparing the natural nail to the final shaping, each stage plays a crucial role in the overall quality and longevity of the extensions.
What tools and materials are needed for acrylic nail extension application?
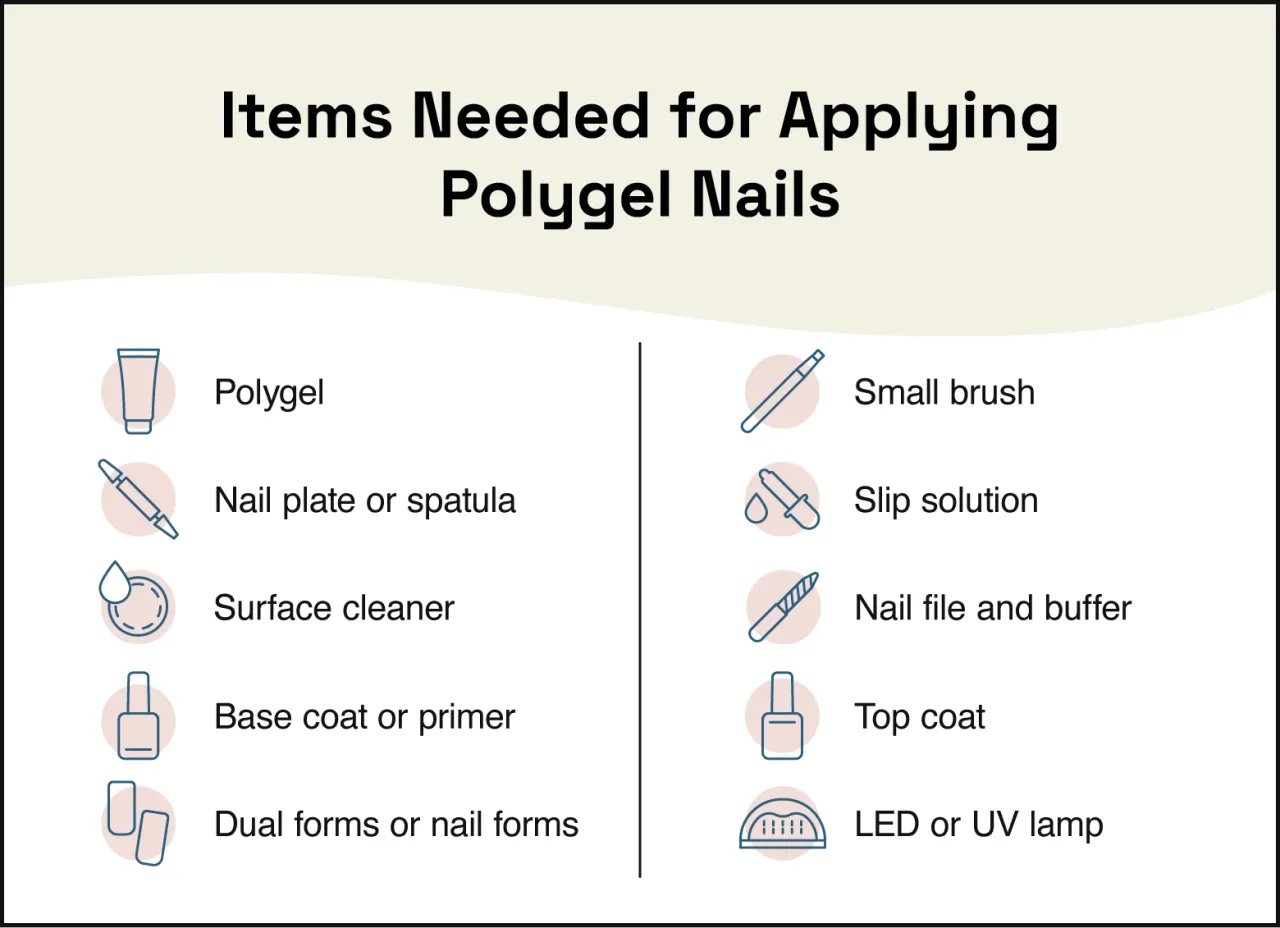
To successfully apply acrylic nail extensions and achieve a professional finish, specific tools and materials are essential. This selection includes essential liquids and powders, along with various implements for preparation, application, and shaping. Each item plays a vital role in creating durable and aesthetically pleasing acrylic nails. Essential tools and materials for acrylic nail extension application include:
- Liquid Monomer: A crucial component that mixes with the acrylic powder to form the nail enhancement.
- Acrylic Powder: The polymer that combines with the liquid monomer to create the sculptable acrylic.
- Nail Dehydrator: A solution used to remove moisture and oils from the natural nail plate, ensuring proper adhesion.
- Nail Primer: An adhesive solution applied to the natural nail to promote a strong bond between the nail and the acrylic.
- Nail Forms or Tips: Used to extend the length of the natural nail and provide a base for the acrylic application.
- Acrylic Brush: Specifically designed for picking up and shaping the acrylic mixture.
- Dappen Dish: A small glass container for holding the liquid monomer.
- Nail File and Buffer: Essential for shaping, smoothing, and refining the acrylic nails after application.
- Cuticle Pusher and Nippers: Tools for preparing the cuticles and ensuring a clean nail bed.
- Dust Brush: Used to remove excess dust during filing.
- Top Coat: Applied as a final layer for shine and protection.
What is the proper preparation for acrylic nail application?
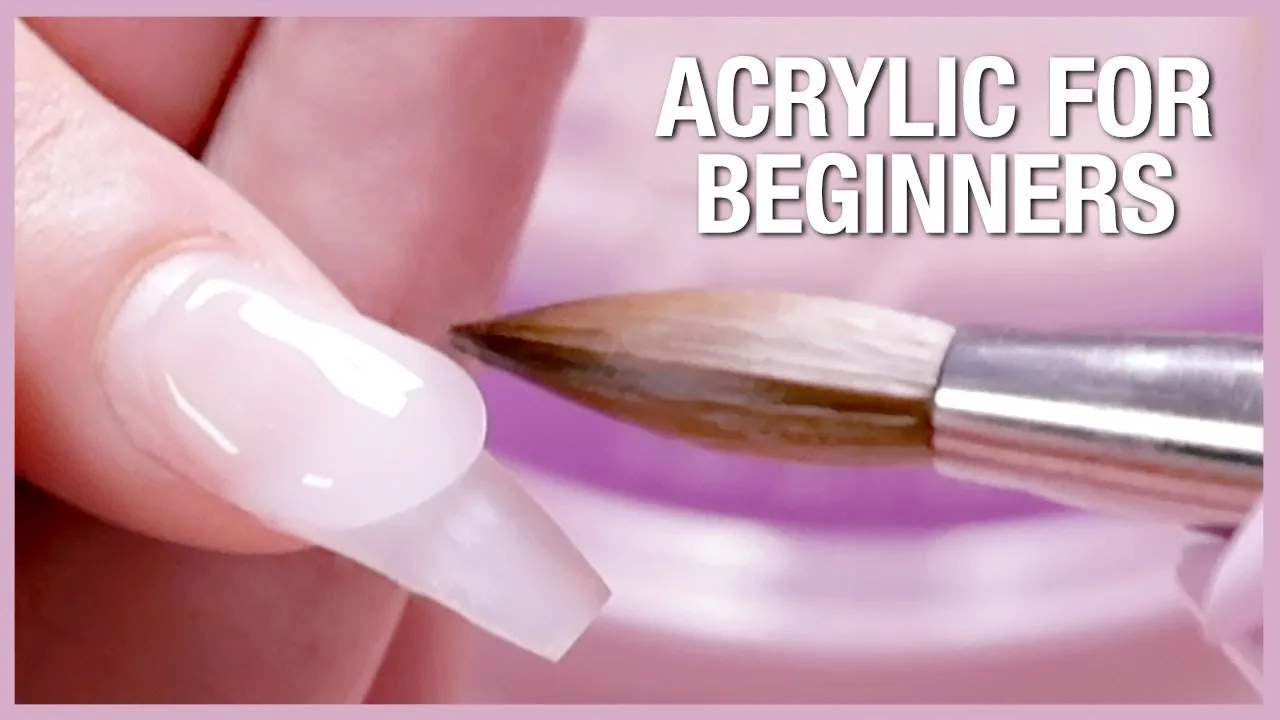
Proper preparation for acrylic nail application involves a detailed seven-step process, ensuring optimal adhesion and longevity of the extensions. This systematic approach ensures the natural nail bed is clean, dehydrated, and primed, creating a strong foundation for the acrylic. Without thorough preparation, acrylic nails are prone to lifting, cracking, or developing infections. Each step is critical for a durable and aesthetically pleasing result.
The proper preparation for acrylic nail application includes:
- Sanitizing hands and tools to prevent contamination.
- Gently pushing back and trimming cuticles to expose the full nail plate.
- Filing the natural nail to the desired shape and roughing the surface with a buffer to enhance adhesion.
- Removing all dust and debris from the nail surface.
- Applying a nail dehydrator to eliminate moisture and natural oils.
- Applying a nail primer to create a sticky surface for the acrylic to bond.
- Allowing the primer to air dry completely before proceeding with acrylic application.
How do you mix and apply the acrylic bead?
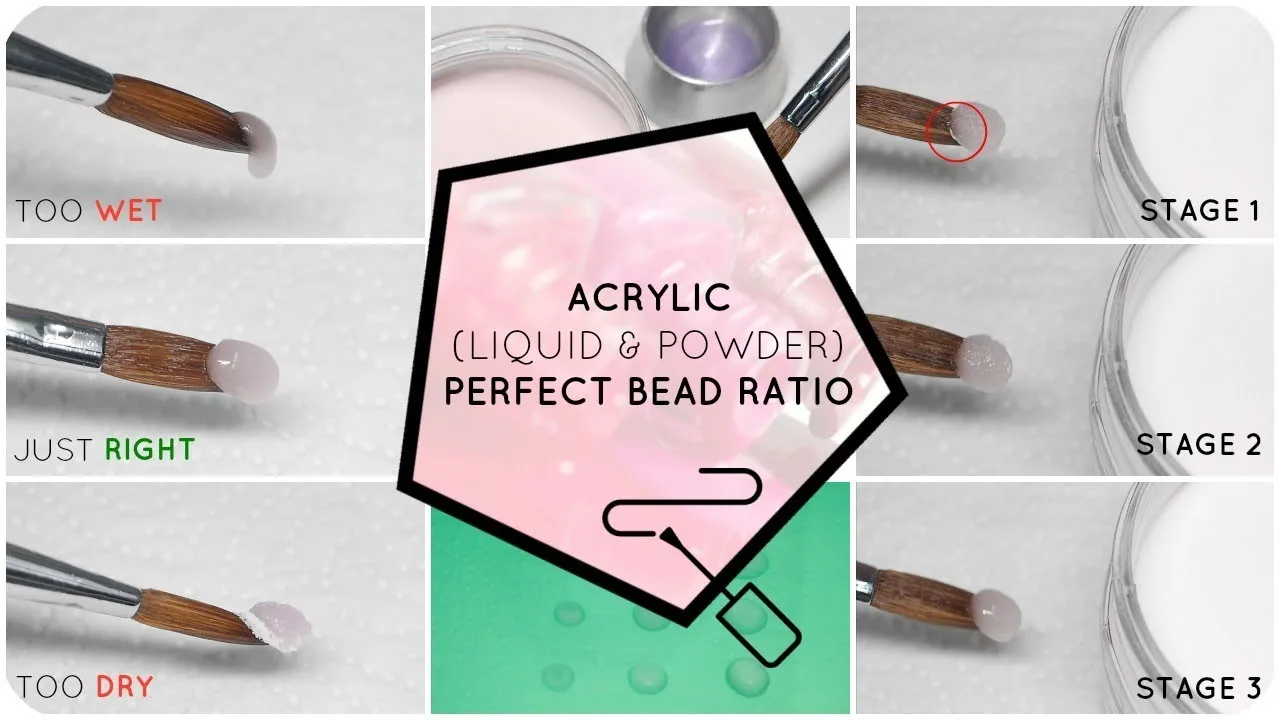
Mixing and applying the acrylic bead is a precise three-step process for strong, sculpted nail extensions. This method ensures proper consistency and adhesion for a durable finish. Understanding the correct technique for each stage is crucial for achieving professional-quality acrylic nails.
What is the correct way to shape and file acrylic nails?
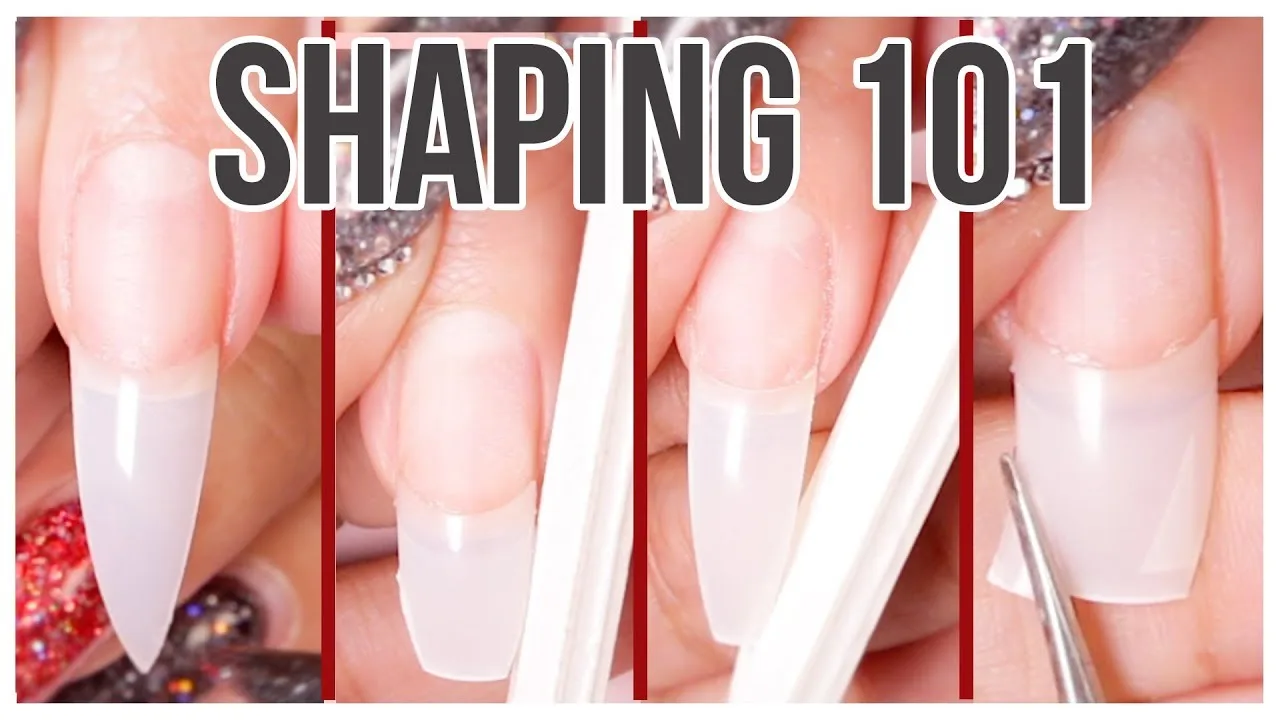
Properly shaping and filing acrylic nails involves a precise three-step process to achieve the desired length, form, and smoothness. This systematic approach ensures a professional finish and contributes to the overall durability and aesthetics of the nail extensions. Proper shaping and filing techniques prevent potential lifting or damage.
The correct way to shape and file acrylic nails includes:
- Rough shaping
- Refining the edges
- Final buffing
Begin by using a coarse-grit file to establish the basic shape and length, working from the sidewalls to the free edge. Next, switch to a medium-grit file to refine the contours and smooth out any irregularities, paying attention to the apex and curve. Finally, use a fine-grit buffer to achieve a seamless, high-gloss finish, preparing the nails for top coat application.
How do Acrylic Nail Extensions Compare to Gel Nail Extensions in terms of application and aftercare?
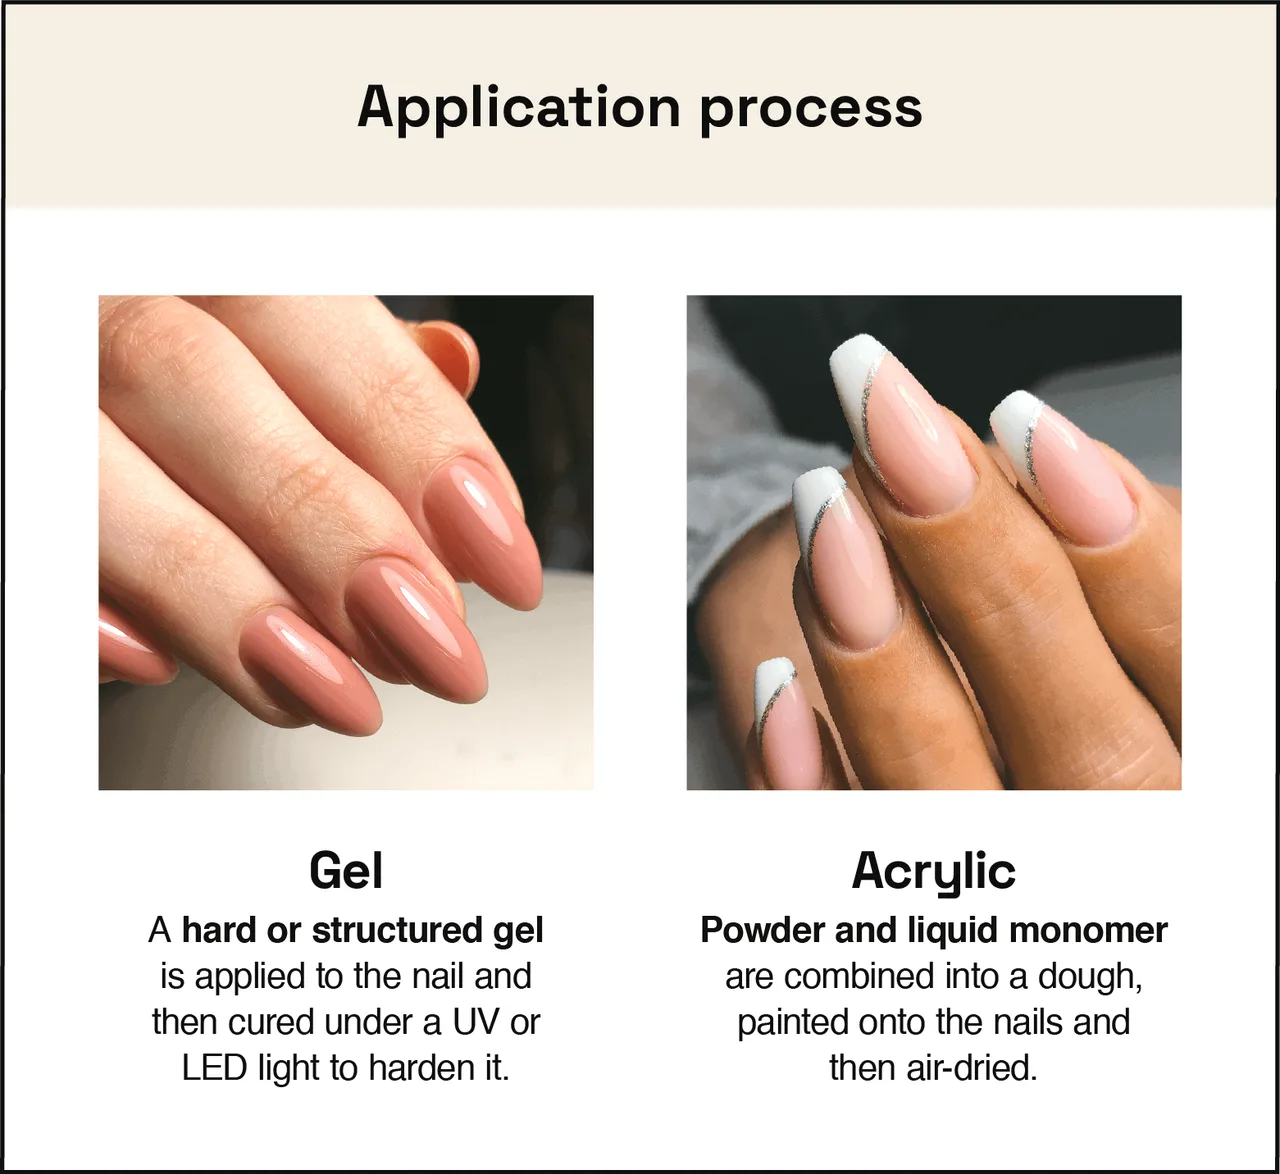
Acrylic and gel nail extensions differ in their application and aftercare processes, including curing, removal, and maintenance. These distinctions influence both durability and the overall user experience. Primary differences involve chemical reactions during application and specific upkeep requirements.
What are the key differences in the application process between acrylic and gel nail extensions?
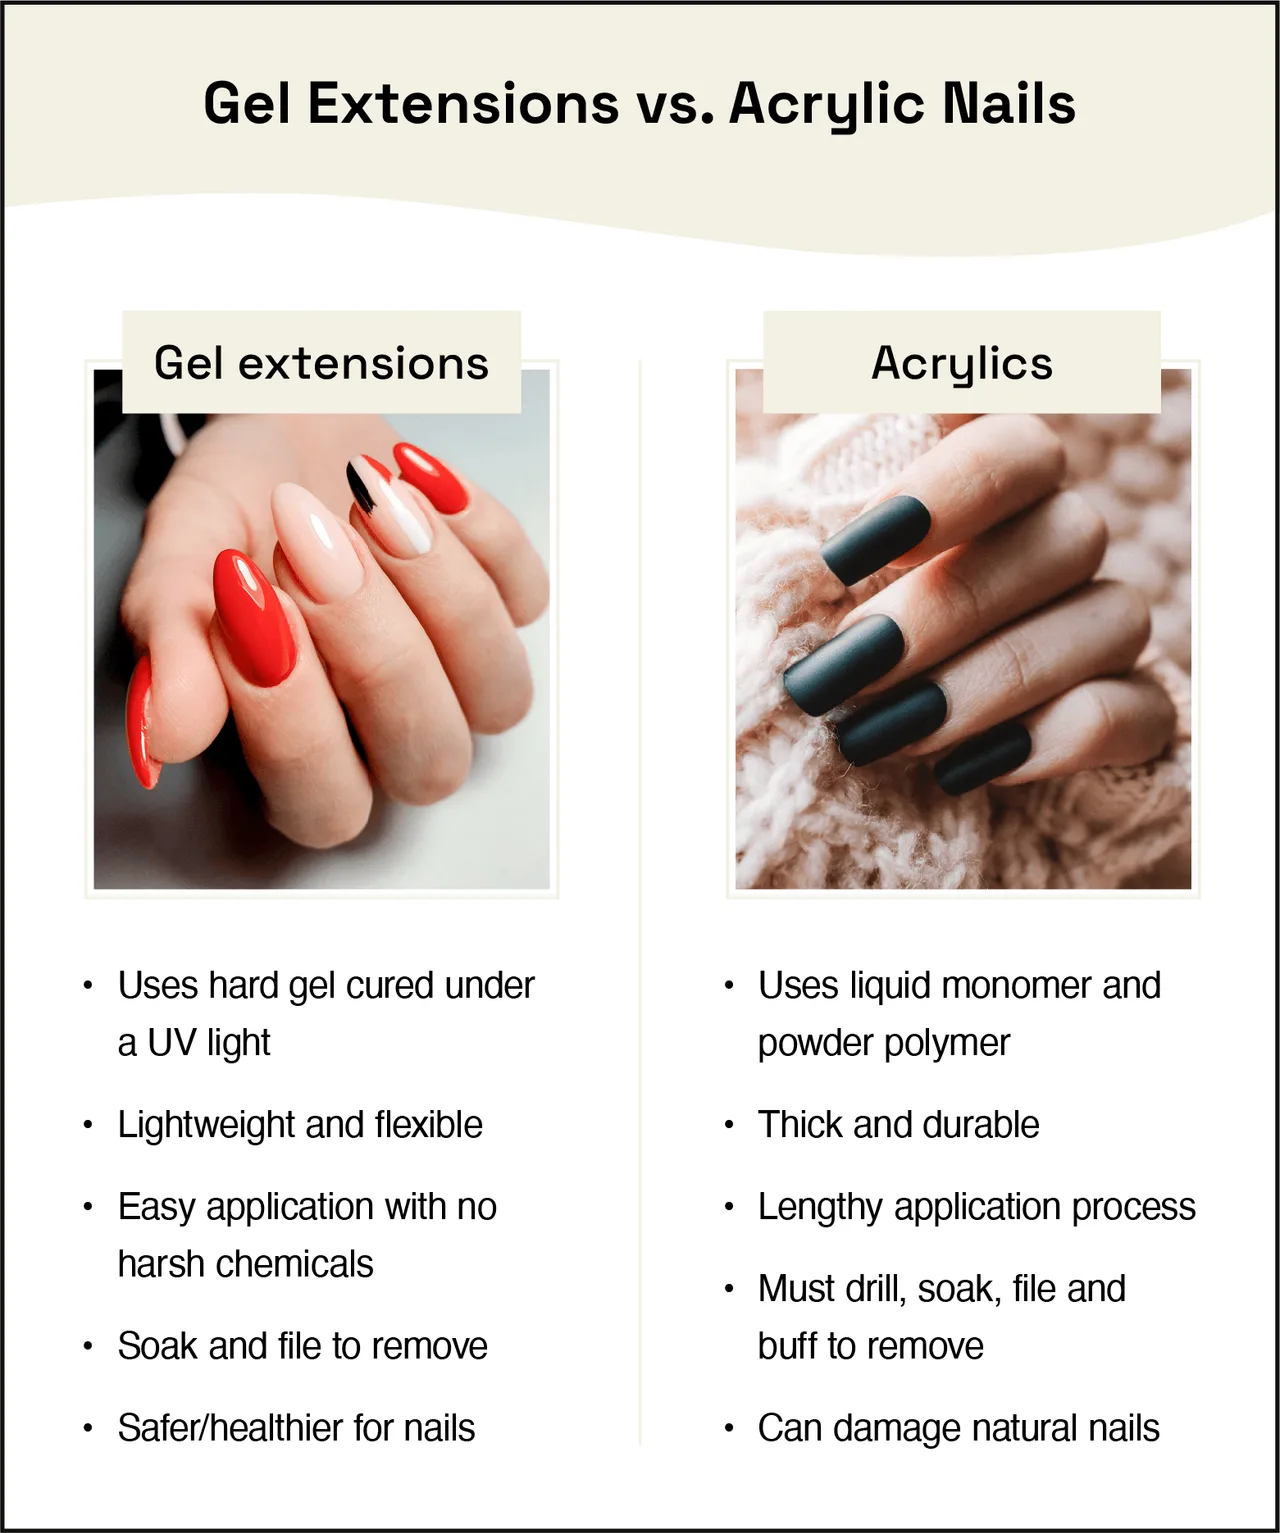
The main differences in the application process between acrylic and gel nail extensions lie in their product chemistry, curing methods, and sculpting techniques. These distinct characteristics determine the steps involved in achieving a finished nail enhancement. The application processes vary significantly in terms of how the materials are prepared, applied, and set to form a durable extension.
What are the key differences in the aftercare requirements for acrylic vs. gel nail extensions?
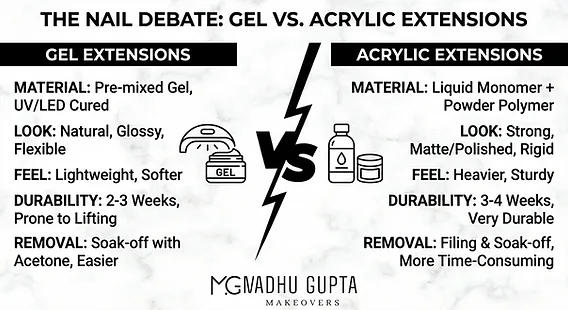
The main differences in acrylic and gel nail aftercare include maintenance, fill-in needs, and removal processes. These distinctions ensure optimal longevity and health for each specific type of enhancement. Understanding the unique needs of acrylics versus gels allows for proper care and sustained beauty. According to Plapro, acrylic nails typically last about 2-3 weeks before needing a fill or complete removal. Gel nails often extend to 3-4 weeks before requiring a fill due to their flexibility. Acrylics dissolve with acetone for removal, whereas gels need filing or soaking, sometimes requiring more extensive removal processes.
What are the best practices for maintaining acrylic nail extensions for longevity and health?
To maintain acrylic nail extensions for longevity and health, consistent care is required, including proper cleaning, protection, and timely maintenance appointments. These advanced tips extend the life of acrylic nails and ensure overall nail health. Adhering to specific aftercare routines prevents common issues like lifting, breakage, and infections, preserving both the appearance and integrity of the extensions. Consistent attention to these practices safeguards the investment in acrylic nails and promotes natural nail well-being.
Are there any specific products recommended for acrylic nail extension aftercare?
Specific products recommended for acrylic nail extension aftercare include specialized oils, topcoats, and strengtheners. These products are crucial for maintaining the integrity, appearance, and health of both the extensions and the natural nails. Consistent use of appropriate aftercare products prevents common issues and prolongs the lifespan of acrylic enhancements. These include cuticle oils, protective topcoats, and nail strengtheners designed for extended wear.
How can one safely remove acrylic nail extensions at home?
To safely remove acrylic nail extensions at home, follow a step-by-step process that prioritizes nail health and prevents damage. This method involves softening the acrylic and gently detaching it from the natural nail. Proper at-home removal is crucial for maintaining the integrity of natural nails, avoiding breakage, and preventing infections. The process ensures a clean break from the extension without causing trauma to the nail bed.
Conclusion
Acrylic nail extensions offer a durable and versatile enhancement. This comprehensive guide covered the detailed application process, from proper nail preparation and tool selection to mixing and shaping techniques. Understanding the distinctions between acrylic and gel nails, particularly in application and aftercare, is crucial for informed choices. Consistent maintenance, including specific products and safe removal methods, ensures the longevity and health of acrylic nails, providing a lasting, professional finish.