Gel-X nails offer salon-quality manicures at home with pre-shaped gel tips and adhesive. This guide provides a step-by-step process for DIY application. Achieve professional-looking nail enhancements without a salon visit.
Applying Gel-X nails at home requires specific tools like a UV/LED lamp, Gel-X tips, and a bond and extend gel system. Gathering all necessary supplies before starting ensures a smooth application process. Having the right products on hand is essential for successful DIY Gel-X nails.
Gel-X nails are highly suitable for beginners due to their straightforward application process and non-damaging removal. The system is designed to be user-friendly, making it accessible even for those new to at-home nail extensions. With proper technique, beginners can achieve excellent results and enjoy long-lasting manicures.
Before diving into the step-by-step application, understanding what Gel-X nails are is crucial.
What are Gel-X Nails?
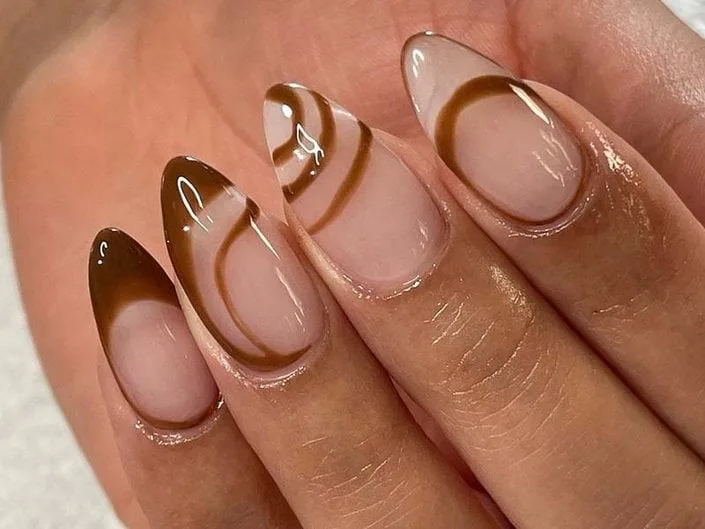
Gel-X nails are a type of soft gel nail extension that offers a lightweight, flexible, and durable alternative to traditional acrylics or hard gel systems. This innovative system utilizes pre-shaped gel tips, which are full-cover nail enhancements, applied with a specialized gel adhesive. The composition of Gel-X nails allows for a more natural feel and appearance, differing significantly from the rigid structure of acrylics or the thicker application of hard gels.
What Supplies Do You Need for Gel-X Nails at Home?
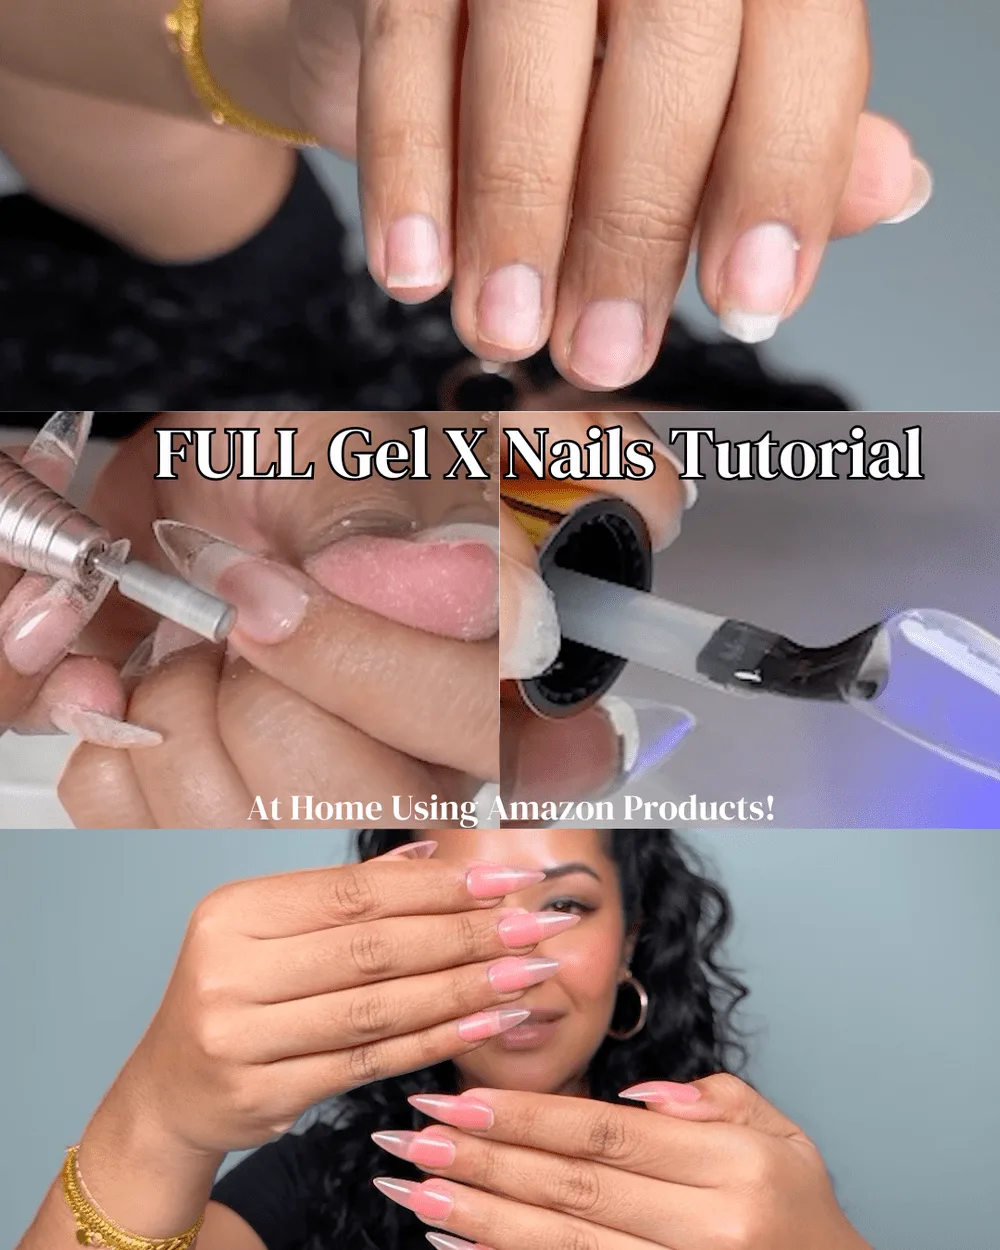
To do Gel-X nails at home, you need specific tools and products that ensure proper application and longevity. These include a UV/LED lamp, Gel-X tips, a bond and extend gel system, and other preparatory items. Having these essential supplies on hand streamlines the process and helps achieve a professional finish. This comprehensive list details all the necessary items for a successful DIY Gel-X manicure.
How Do You Prepare Your Nails for Gel-X Application?
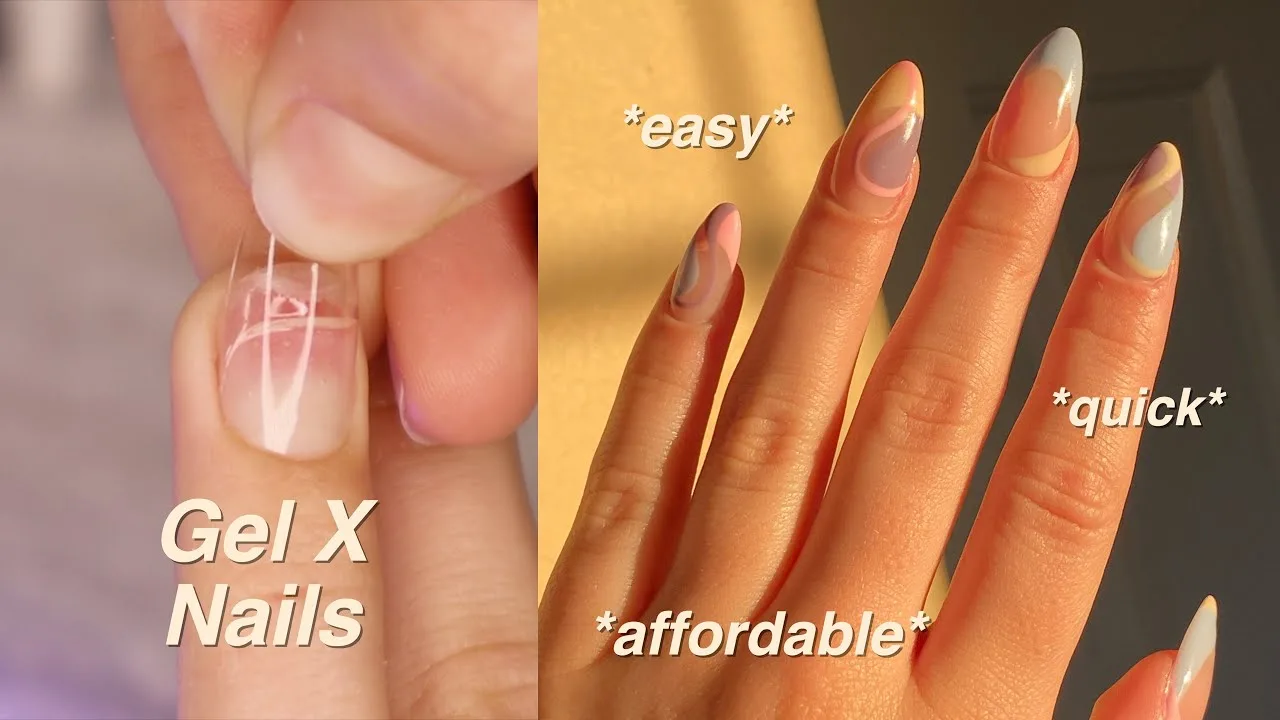
To prepare nails for Gel-X application, clean and dehydrate the nail plate. Then, shape and buff the natural nails. This crucial preparation ensures proper adhesion and longevity of the Gel-X extensions.
Adequate nail preparation provides a smooth and clean surface. This is essential for a professional and durable Gel-X manicure.
How Do You Apply Gel-X Nails Step-by-Step?
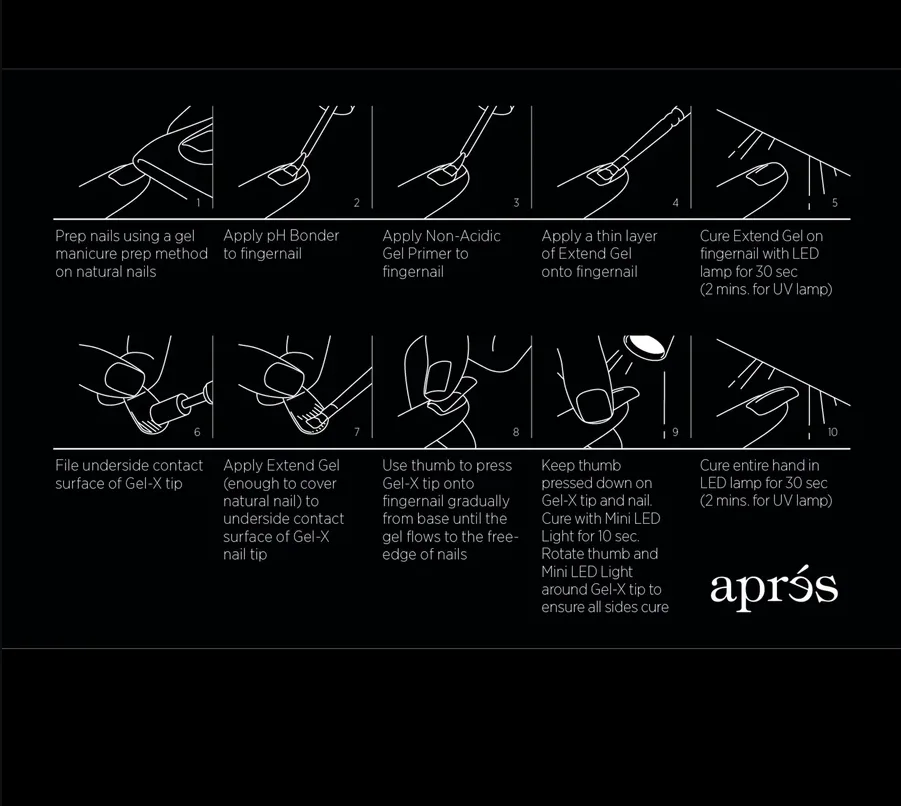
Applying Gel-X nails involves a multi-step process for proper adhesion and a durable finish. This detailed guide outlines each stage, from preparing your nails to curing the final top coat.
Understanding these steps is crucial for achieving professional-looking Gel-X manicures at home, ensuring both beauty and longevity.
How do you choose the right Gel-X nail size?
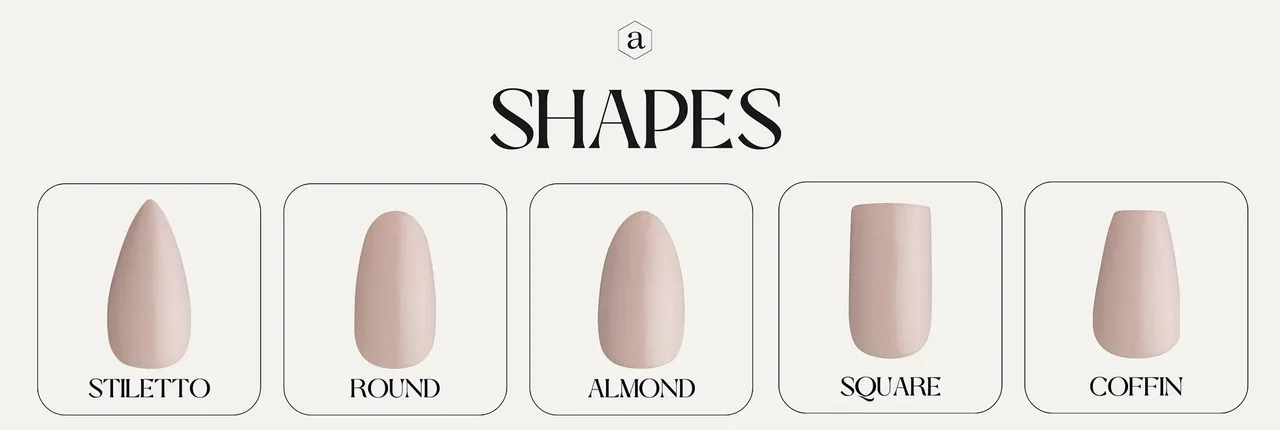
To choose the right Gel-X nail size, match the pre-shaped tip to the natural nail plate’s width and curve. This ensures a seamless fit and a natural appearance, preventing lifting or discomfort. Proper sizing is crucial for both aesthetics and the longevity of the Gel-X manicure.
How do you apply the Gel-X adhesive?
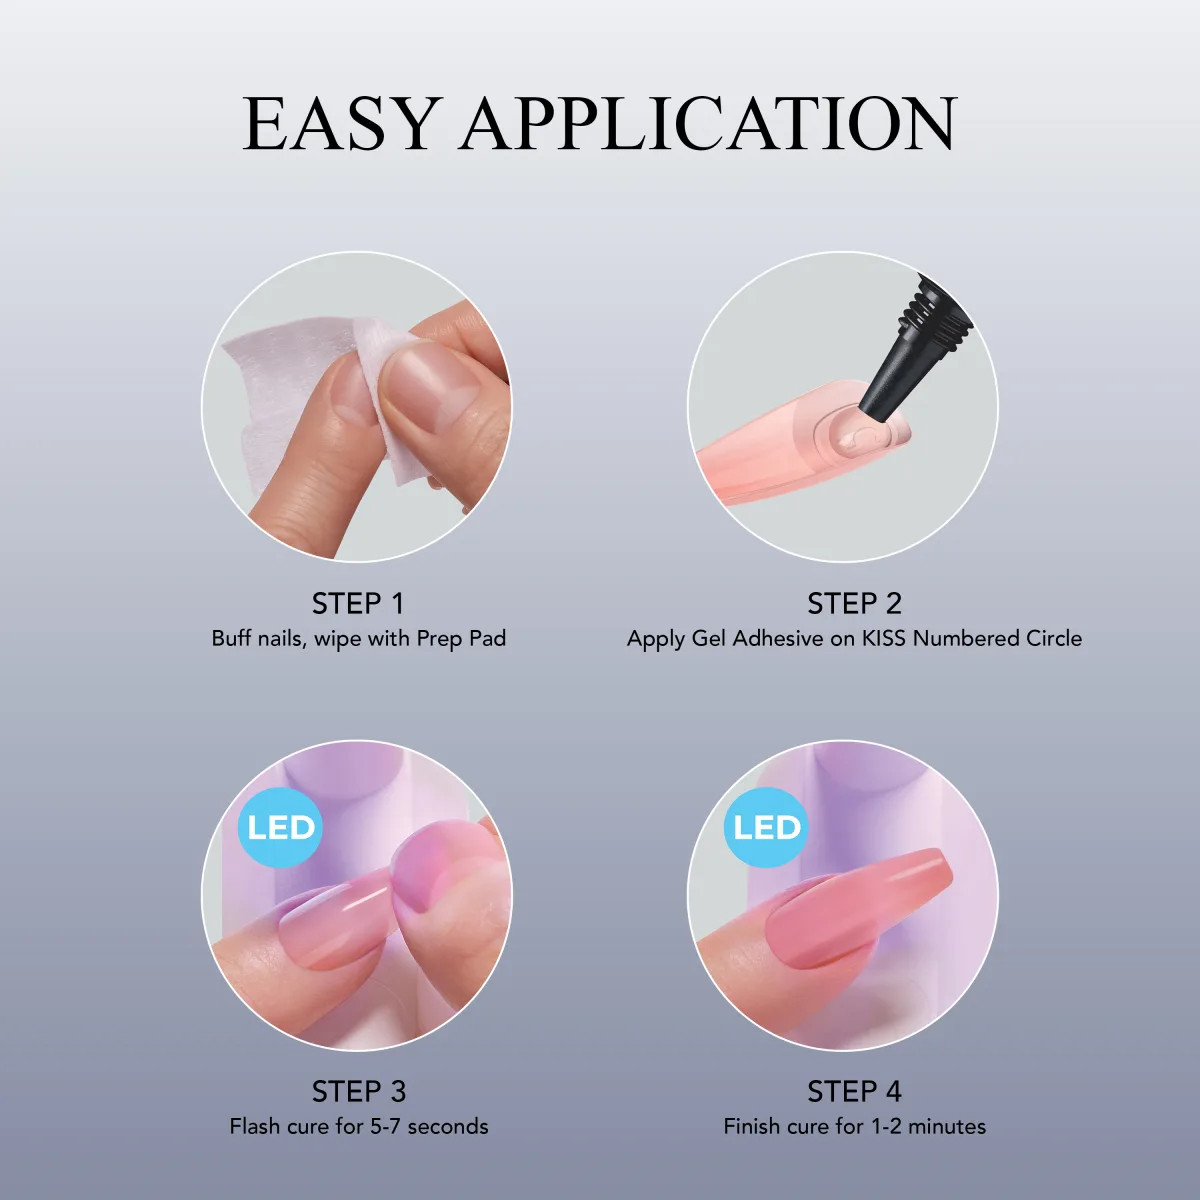
To apply Gel-X adhesive, start by applying a thin, even layer of bonder to the natural nail, followed by a small bead of extend gel to the underside of the Gel-X tip. This technique ensures maximum adhesion and prevents air bubbles from forming under the extension. Proper application of the adhesive is essential for a long-lasting and secure Gel-X manicure.
How long should you cure Gel-X nails under the UV/LED lamp?
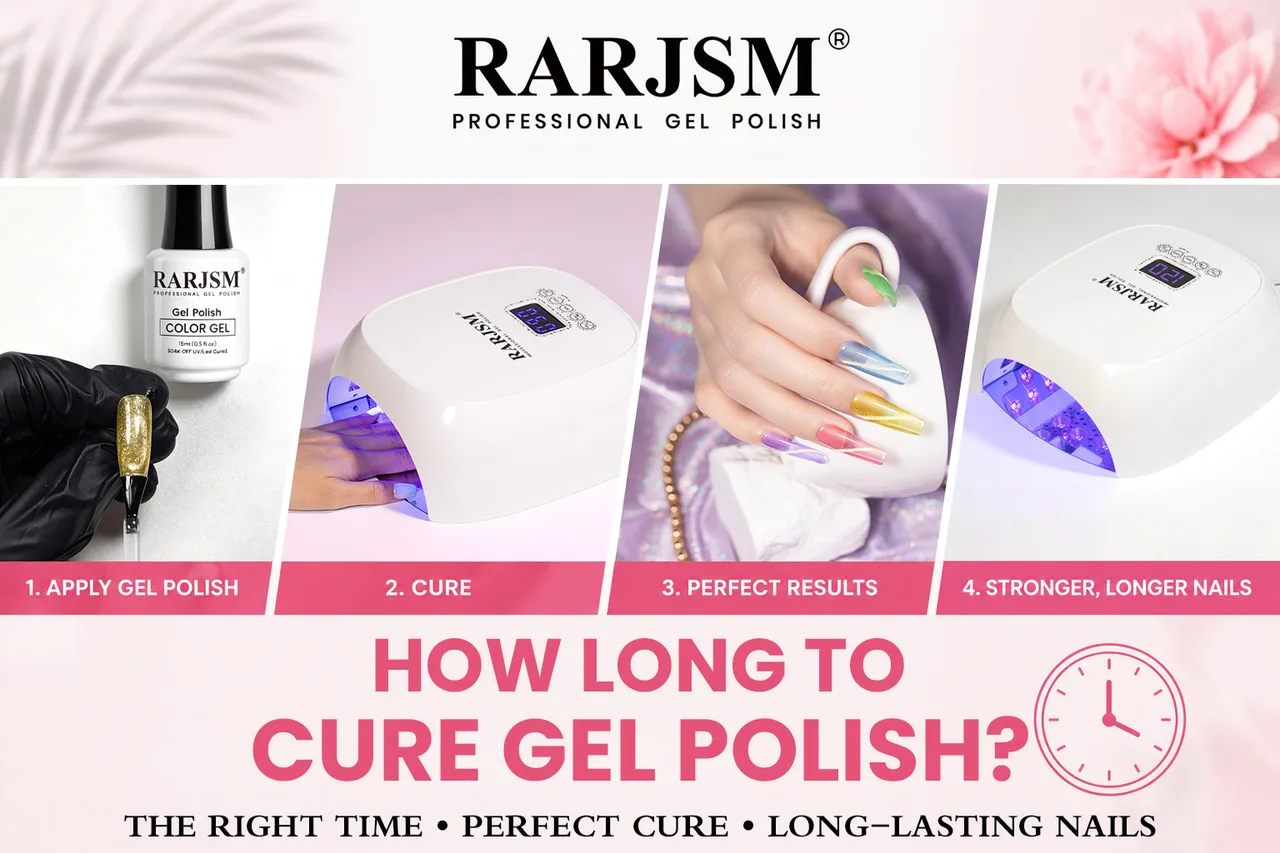
You cure Gel-X nails under a UV/LED lamp for a specific duration. This ensures proper adhesion and durability. Curing time varies between the extend gel application and the final topcoat. Adhering to recommended times is crucial for a long-lasting and professional Gel-X manicure at home.
Proper curing ensures the gel fully hardens, preventing lifting or chipping. For the extend gel that adheres the Gel-X tip to the natural nail, Après recommends a curing time of 30 seconds under a UV/LED lamp. This initial cure sets the tip securely in place. When it comes to gel polish topcoats, you only cure them for a maximum of 90 seconds, according to Glitterbels.
How Do You Remove Gel-X Nails Safely at Home?
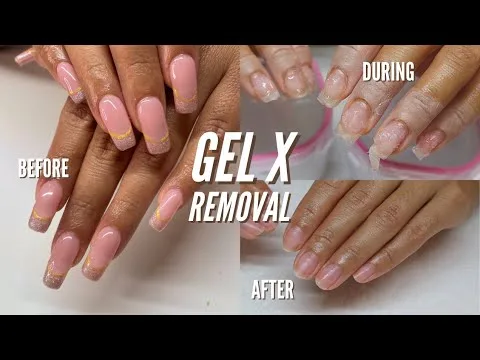
To remove Gel-X nails safely at home, you soak them in acetone, then gently file or push off the softened gel. This method minimizes damage to the natural nail. Proper removal ensures the integrity of your natural nail and prepares them for future manicures.
Are Gel-X Nails Suitable for Beginners?
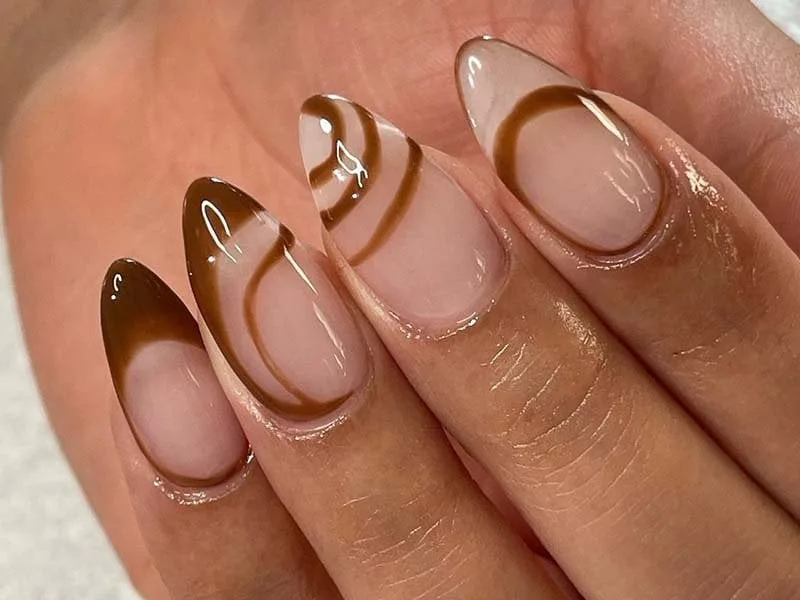
Yes, Gel-X nails are highly suitable for beginners. This is due to their straightforward application, user-friendly system, and non-damaging removal. They are an accessible option for those new to at-home nail extensions. Gel-X nails offer an excellent entry point for individuals seeking professional-looking manicures without extensive prior experience.
Conclusion
Applying Gel-X nails at home is a straightforward process that provides durable, salon-quality manicures. By gathering the necessary tools, preparing your nails correctly, and following the step-by-step application and safe removal instructions, you can achieve professional-looking results. Avoiding common mistakes like improper sizing or insufficient curing ensures a long-lasting and beautiful finish, making Gel-X nails an excellent and accessible option even for beginners seeking at-home nail extensions.